This article will show you how to create a flow to send a custom notification to the owner when the Case owner is changed.
Custom Notification
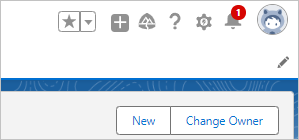
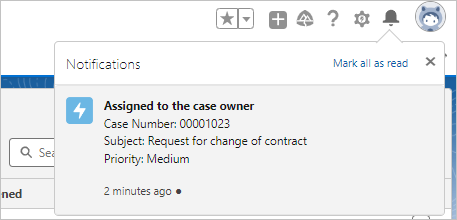
This notification appears in the bell icon in the upper right corner of the screen. Normally, you will be notified when you are mentioned in Chatter or when you request and receive approval in the approval process.
This time, we will create a flow to send a custom notification "Assigned to Case Owner" to the case owner when the Case owner is changed.

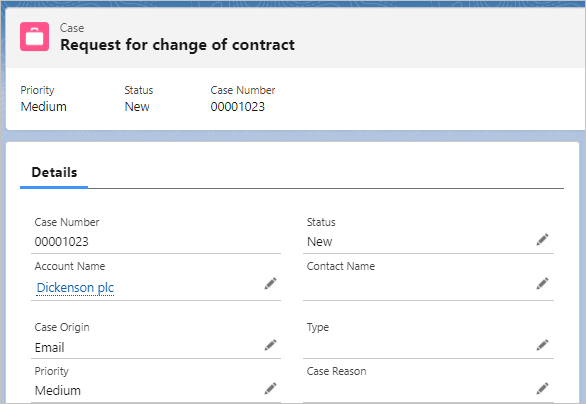
By clicking on the notification, go to the case record page.
Flow Process Overview
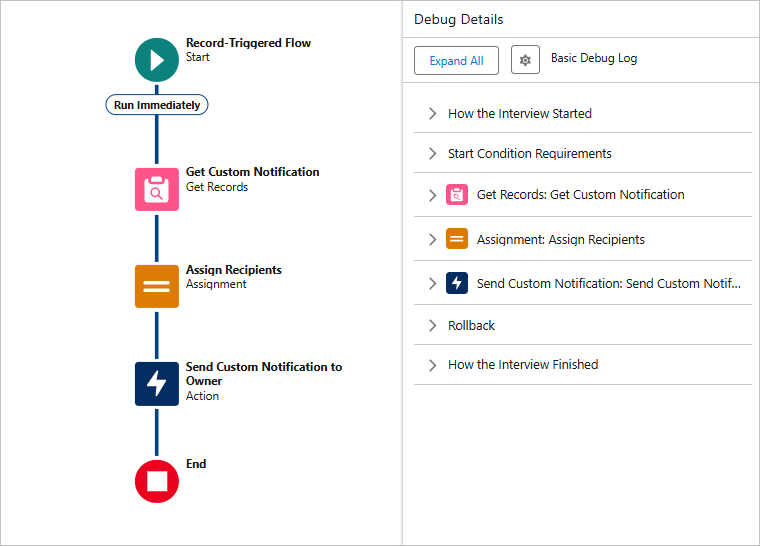
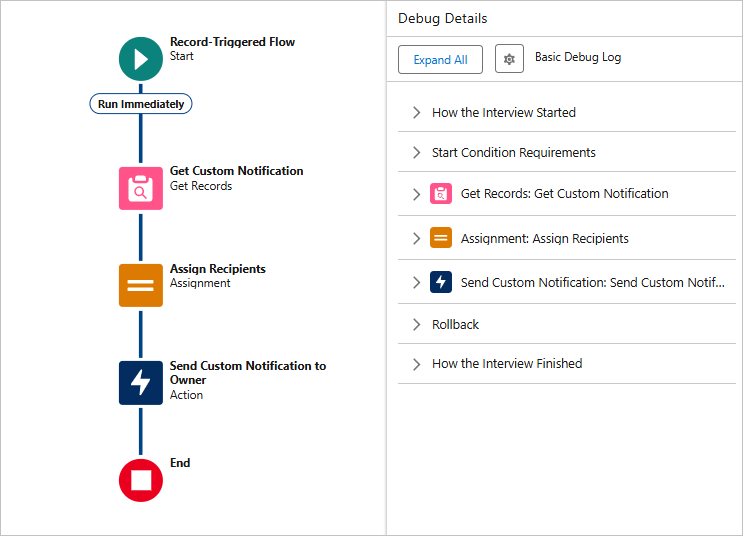
This is the overall picture of the flow.
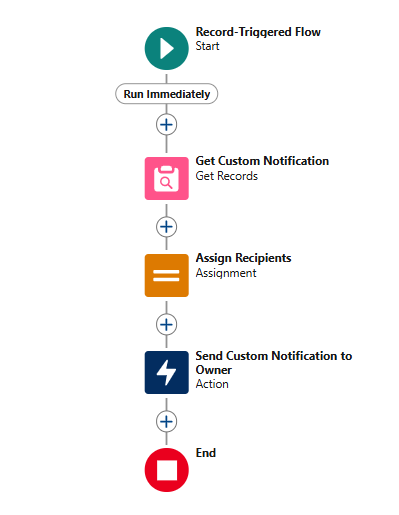
1. Get Custom Notification
Get the custom notification type Id.
2. Assign Recipients
Assign the case owner to a collection variable.
3. Send Custom Notification to Owner
Send the custom notification to the case owner.
Create the Custom Notification
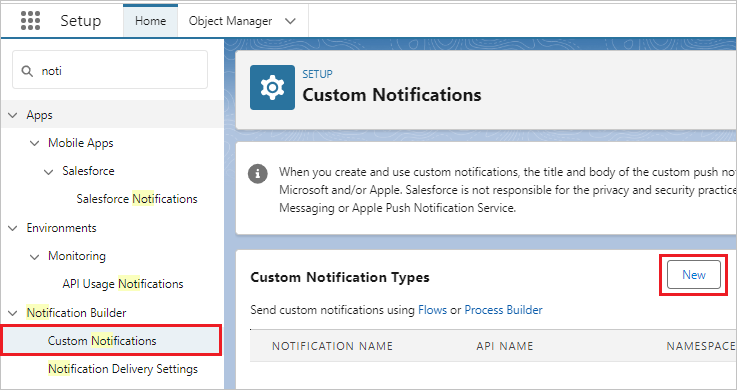
From "Setup", enter "noti" in the search box and click "Custom Notifications". Click the "New" button on the Custom Notification screen.
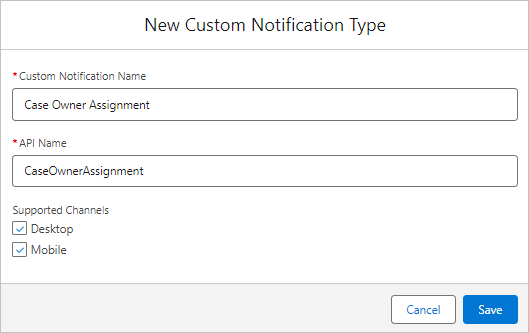
Set the following and click the "Save" button. Here, select the desktop and mobile for the notification.
Custom Notification Name: Case Owner Assignment
API Name: CaseOwnerAssignment
Desktop: Check on
Mobile: Check on
A custom notification is created. 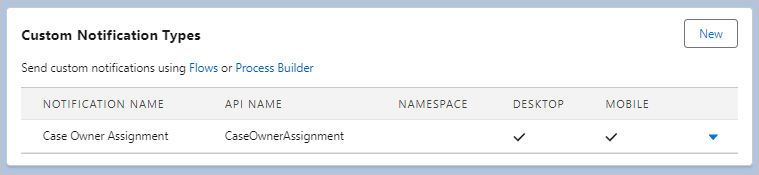
Create the Flow
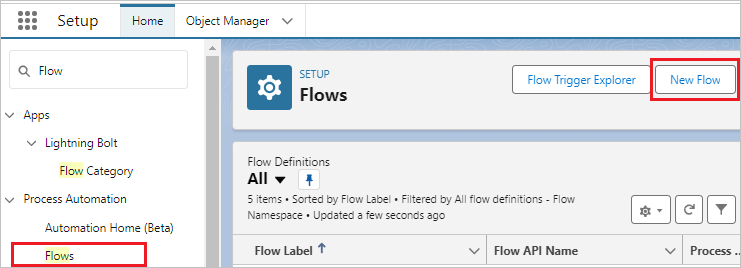
Enter "Flow" in the search box on the left sidebar and click "Flows". Click the "New Flow" button.
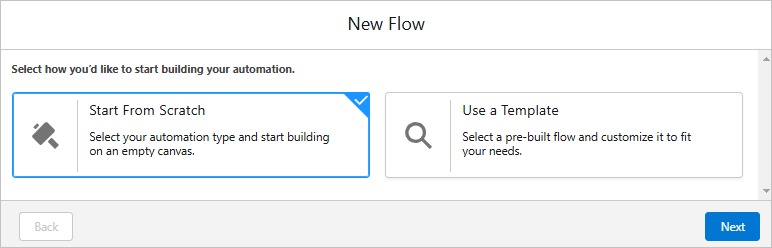
Select "Start From Scratch" and click the "Next" button.
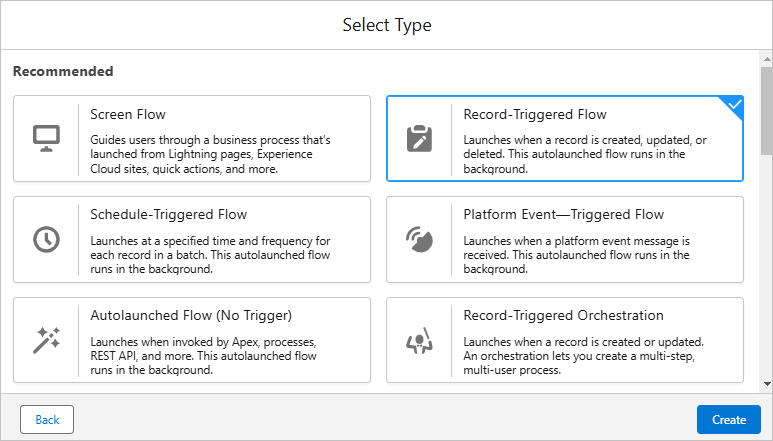
Select "Record-Triggered Flow" and click the "Create" button.
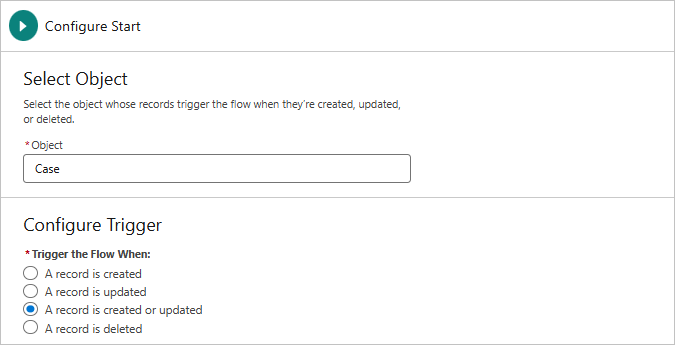
Set the properties.
Object: Case
Trigger the Flow When: A record is created or updated
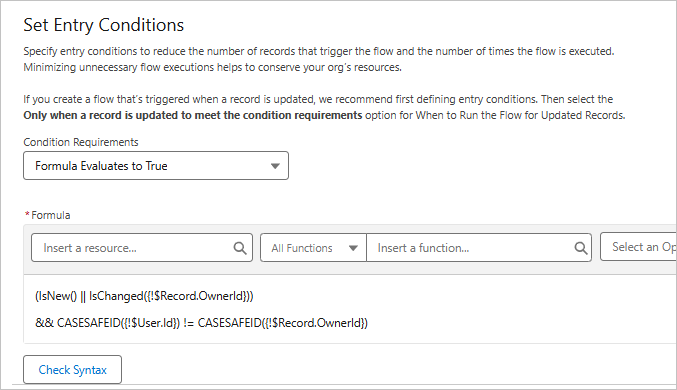
Condition Requirements: Formula Evaluates to True
Formula:
(IsNew() || IsChanged({!$Record.OwnerId}))
&& CASESAFEID({!$User.Id}) != CASESAFEID({!$Record.OwnerId})
The first line of the condition is "new or owner changed".
The second line of the condition is "and the logged-in user is not the owner. User.Id and Record.OwnerId are compared with the 18-digit Id in the CASESAFEID function.
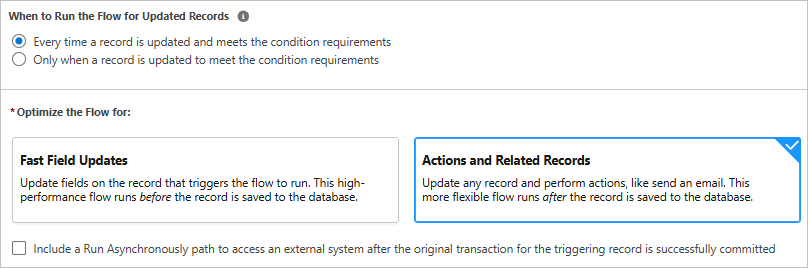
When to Run the Flow for Updated Records: Every time a record is updated and meets the condition requirements
Optimize the Flow for: Actions and Related Records
Note
Under the condition "Logged-in user is not the owner", initially, {! $User.Id}) != {! $Record.OwnerId}.
When debugging, it should not always match the start condition since it was running by myself, but it was going through the start condition.
I assigned it to a variable and confirmed that User.Id is retrieved with 15 digits and Record.OwnerId is retrieved with 18 digits.
Create Resources
Create the resources to be used in the flow. This is a list of resources.
|
API Name |
Description |
|
varRecipients |
Recipient Id List |
|
textNotificationBody |
Text body of the notification |
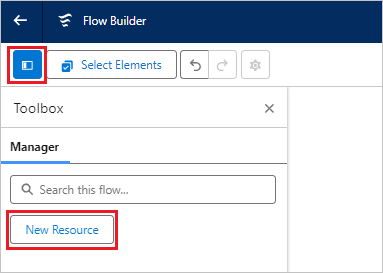
Click the "Toggle Toolbox" button in the upper left corner of the screen, then click the "New Resource" button.
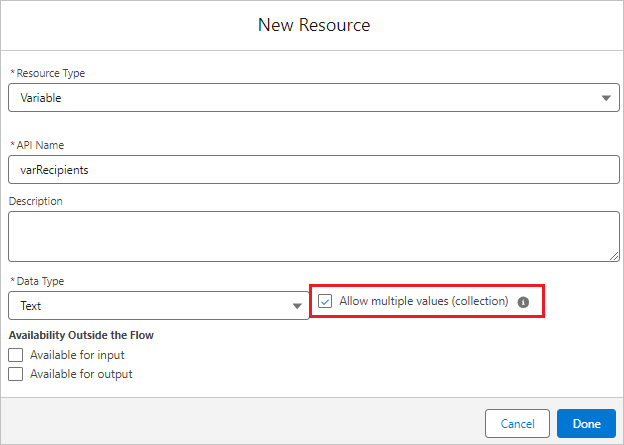
Create the Recipient Id variable. After setting, click the "Done" button.
Resource Type: Variable
API Name: varRecipients
Data Type: Text
Available for input: check on
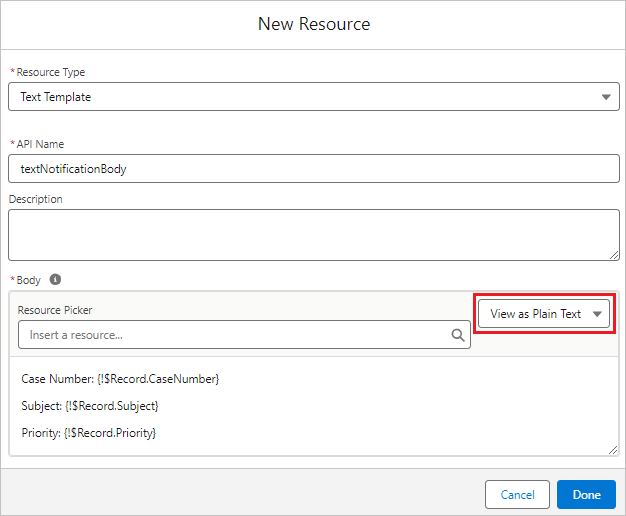
Create the Notification Body text variable. After setting, click the "Done" button.
Resource Type: Text Template
API Name: textNotificationBody
Body: After selecting "View as Plain Text", set the body text.
Case Number: {!$Record.CaseNumber}
Subject: {!$Record.Subject}
Priority: {!$Record.Priority}
*After selecting "View as Plain Text", set the body text. If you select "View as Rich Text", the custom notification will include extra <p> tags, etc.
First, save the flow. Click the "Save" button.
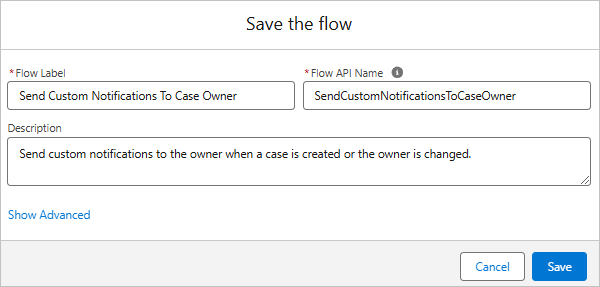
Save the Flow under any name. Here it is saved as follows.
Flow Label: Send Custom Notifications To Case Owner
Flow API Name: SendCustomNotificationsToCaseOwner
Description: Send custom notifications to the owner when a case is created or the owner is changed.
1. Get the custom notification
Click the "+" mark under "Record-Triggered Flow" and select "Get Records".

Set the properties.
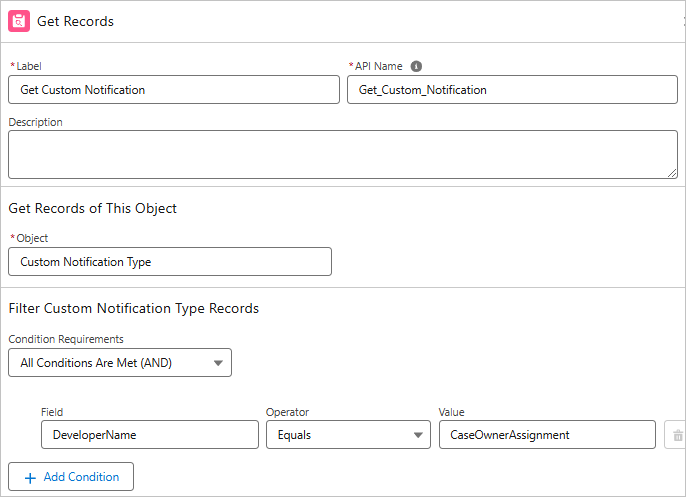
Label: Get Custom Notification
API Name: Get_Custom_Notification
Object: Custom Notification Type
Condition Requirements: All Conditions Are Met (AND)
Field: DeveloperName Operator: Equals Value: CaseOwnerAssignment
*Set the value to the API Name of the custom notification created in the previous step.
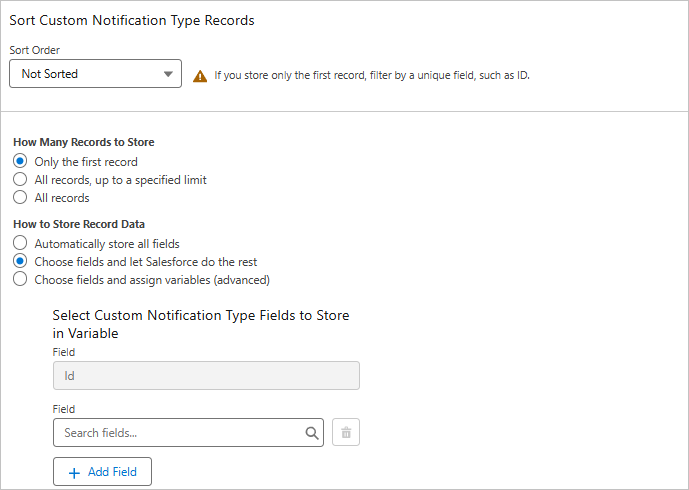
Sort Order: Not Sorted
How Many Records to Store: Only the first record
How to Store Record Data: Choose fields and let Salesforce do the rest
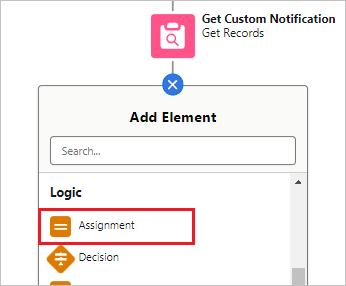
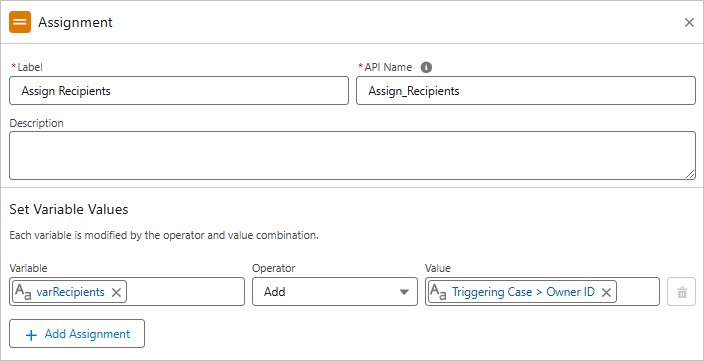
2. Assign Recipients
Click the "+" mark under "Get Custom Notification" and select "Assignment".
Set the properties.
Label: Assign Recipients
API Name: Assign_Recipients
Variable: {!varRecipients} Operator: Add Value: {!$Record.OwnerId}
*Since single records cannot be assigned to collection variables, the operator is set with "Add".
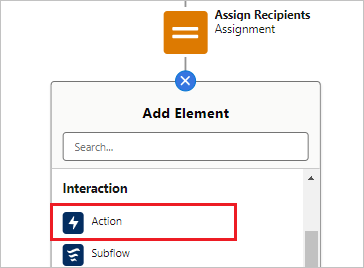
3. Send Custom Notification to Owner
Click the "+" mark under "Assign Recipients" and select "Action".
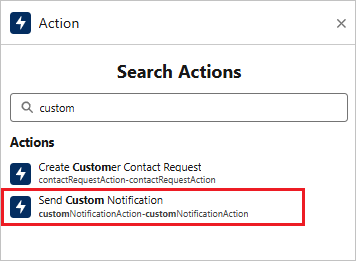
Click "Notifications" on the left sidebar and select "Send Custom Notification".
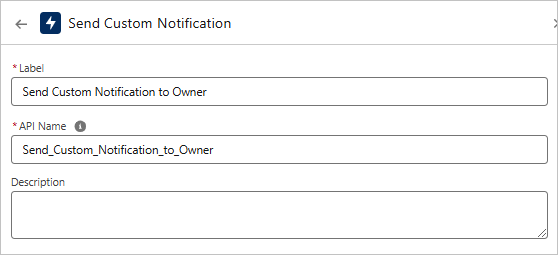
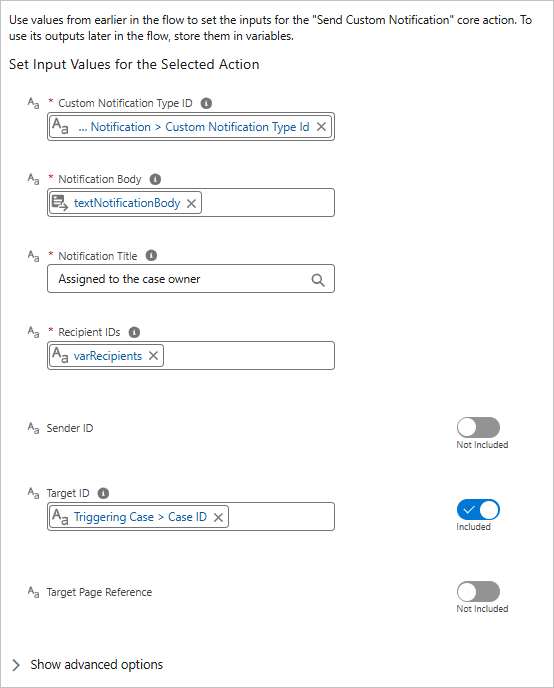
Set the properties.
Label: Send Custom Notification to Owner
API Name: Send_Custom_Notification_to_Owner
Custom Notification Type ID: {!Get_Custom_Notification.Id}
Notification Body: {!textNotificationBody}
Notification Title: Assigned to the case owner
Recipient IDs: {!varRecipients}
Target ID: {!$Record.Id}
Flow creation is complete.

Click the "Save" button.
Debug the Flow
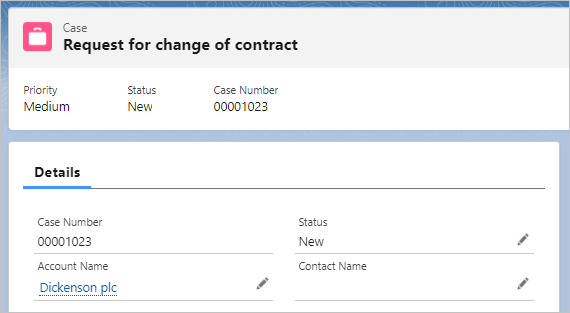
Create a case record for testing from the Records screen.
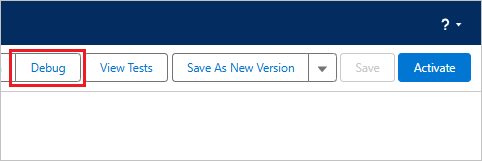
Click the "Debug" button.
Record trigger flows are always debugged in rollback mode. It is not possible to check by actually sending custom notifications. This time, we will debug to make sure that the flow proceeds without error to the end when creating and updating a case.
Create Case (by myself)
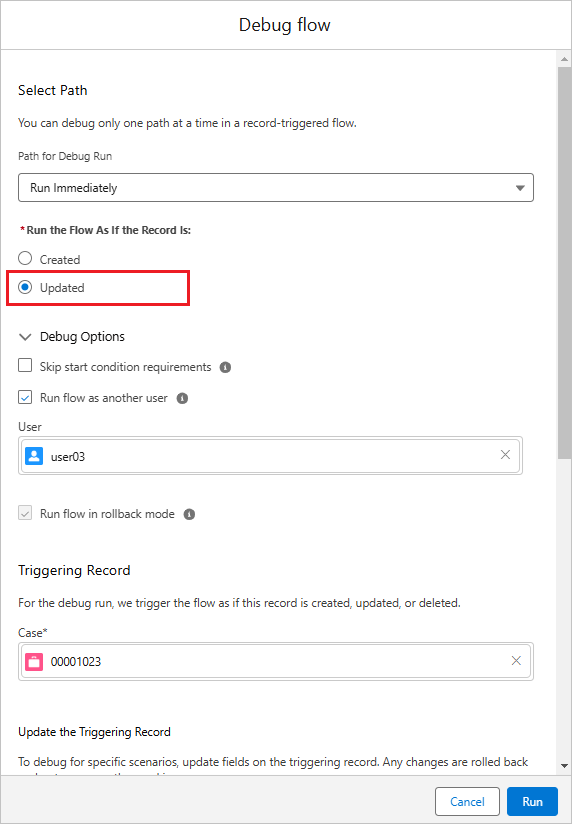
First, check the behavior when creating a case.
Select "Created" for "Run the Flow As If the Record Is" and select the test case record. Click the "Run" button.
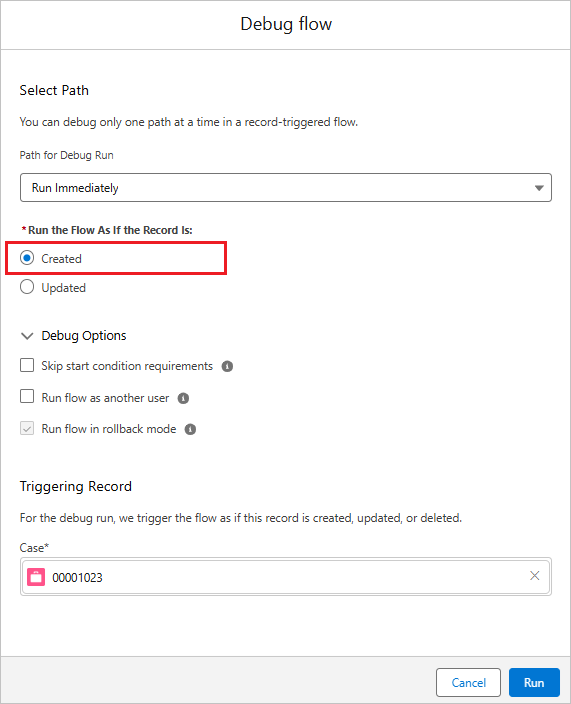
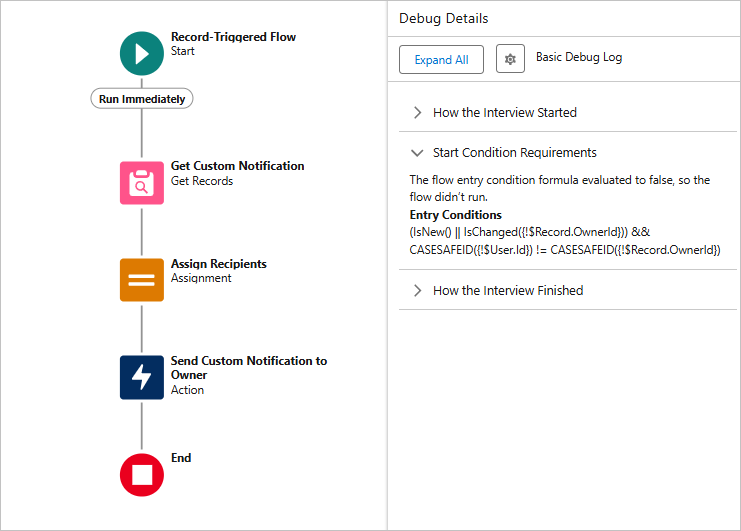
Debugging by the logged-in user himself, so it does not match the start condition. Ensure that the flow exits without processing.
Create Case (by another user)
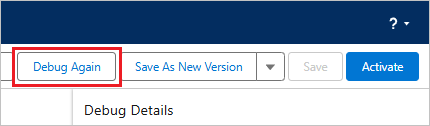
Click the "Debug Again" button.
Check on "Run flow as another user" and select another user. Click the "Run" button.
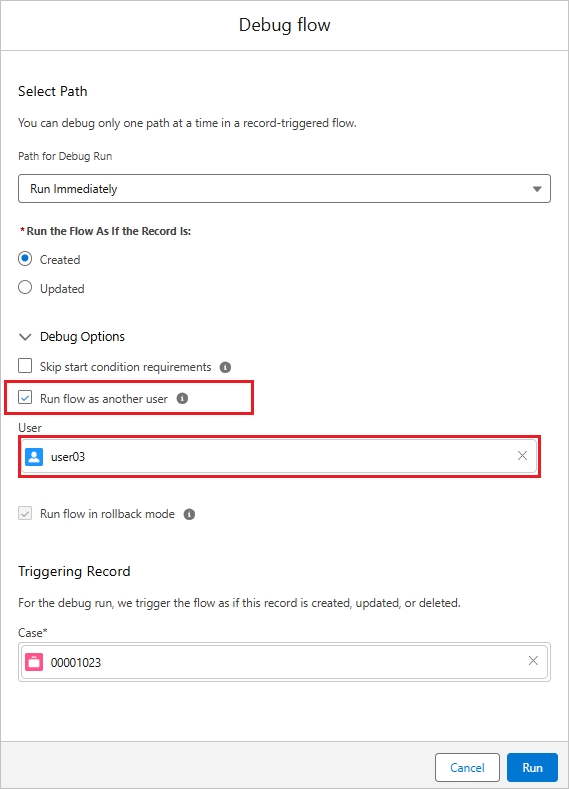
Ensure that the flow proceeds to the end without error.
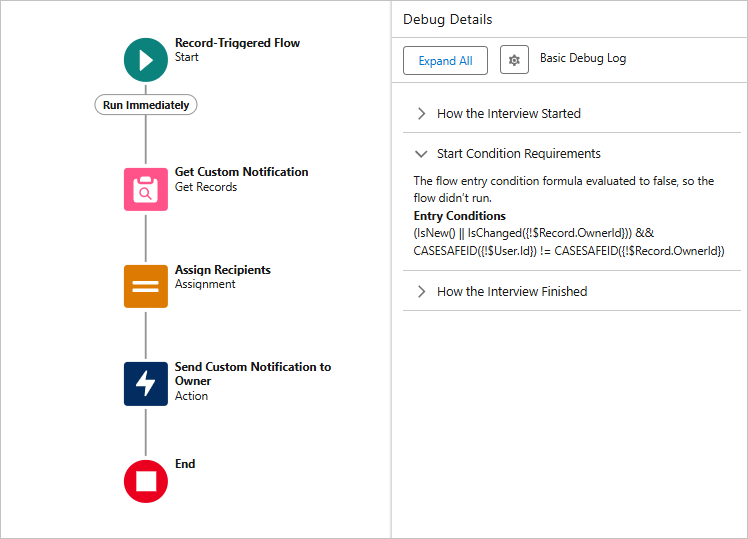
Update Case (No Change Owner)
Next, check the behavior when updating the case. Click the "Debug Again" button.

Select "Updated" for "Run the Flow As If the Record Is". Click the "Run" button.
The owner has not changed, so the start condition is not met. Ensure that the flow ends without processing.
Update Case (Skip start conditions)
Click the "Debug Again" button.

Check on "Skip start condition requirements". Click the "Run" button.
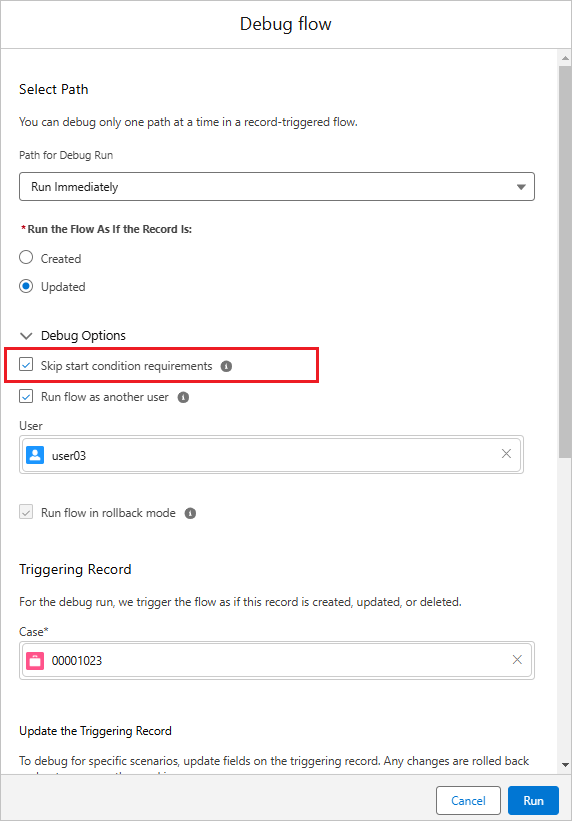
Ensure that the flow proceeds to the end without error.
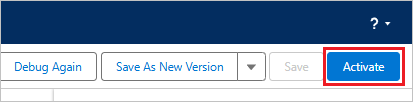
Click the "Activate" button.
Send actual custom notifications
Change the case owner to another user by proxy login with another user in the Sandbox environment. A custom notification will be sent to the case owner.

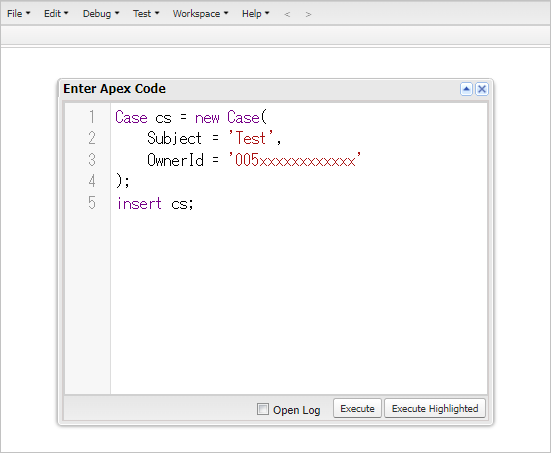
When creating a case record from the screen, it is not possible to set an owner other than yourself. Test when creating a case by using the Dataloader. Or, if you are a system administrator with access to the developer console, run the following Apex to assign any user as the owner when creating a new case.
Case cs = new Case(
Subject = 'Test',
OwnerId = '005xxxxxxxxxxxx'
);
insert cs;

