This article shows how to create a Send Email action on a Case record page. In order to display the Send Email action on the Case record page, some pre-configuration is required.
Actions are usually displayed as buttons in the highlights panel, but activity-related (e.g., New Task), posting-related, and emailing are not displayed in the highlights panel.
These need to be placed in the page layout and the components need to be placed on the Lightning record page.
- In the case of Case object, Actions are displayed as tabs by placing Chatter or Chatter publisher component on the Lightning record page.
- Objects other than Case, Actions are displayed by placing the Activity component on the Lightning record page. Optionally, you can choose to display them as buttons or tabs in the component.
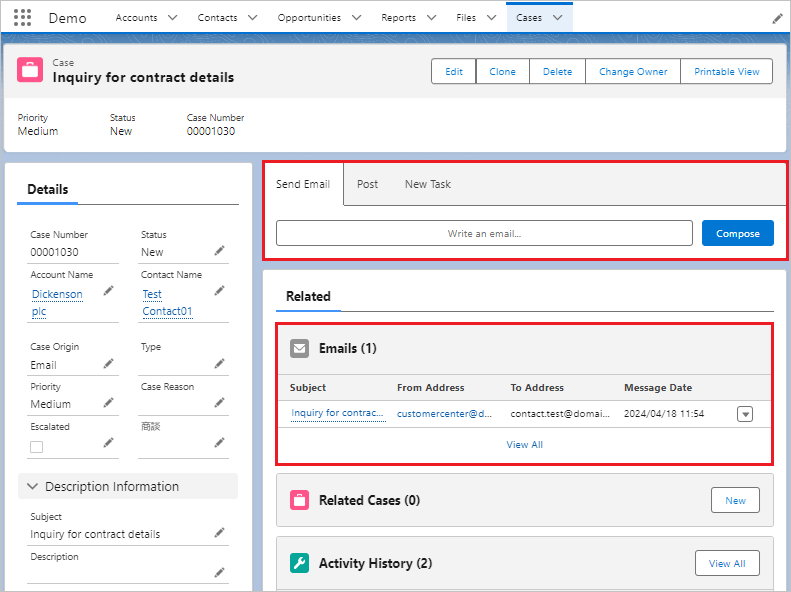
Send Email Action Layout Sample
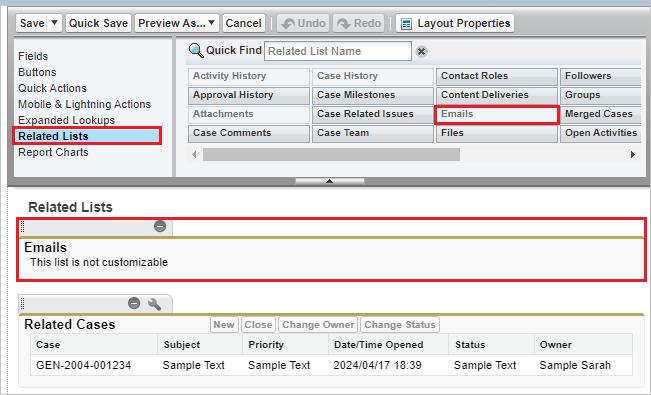
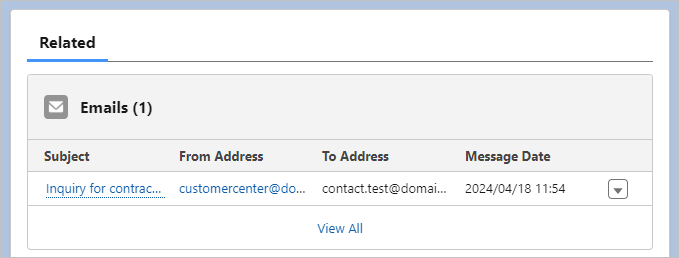
This time, display the Send Email action and the Email related list.
Pre-configuration
In order to display the Send Email action on the case record page, the following settings are required.
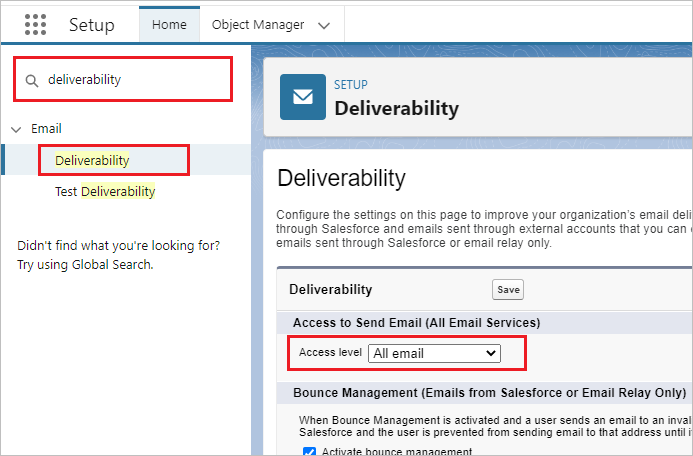
- Set the Access level of Deliverability to "All email"
If it is not "All email," the email action cannot be displayed and created. *Common for all objects.
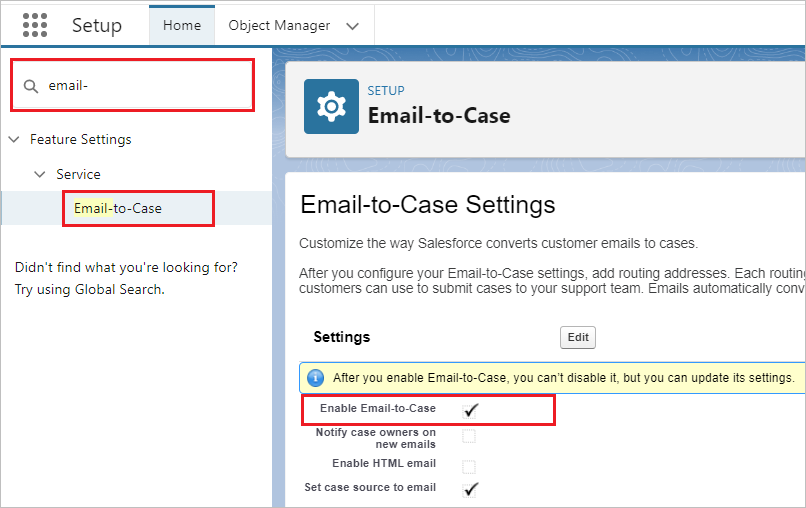
- Enable Email-to-Case
If not enabled, the email actions cannot be displayed or created.
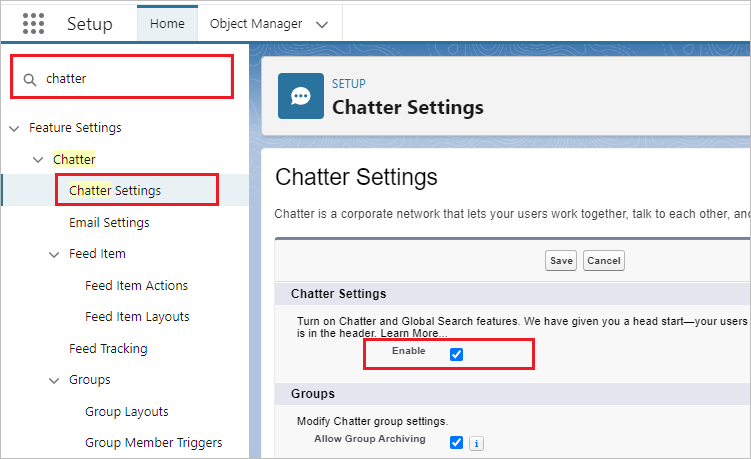
- Enable Chatter Settings
If not enabled, the Chatter component cannot be placed on a record page and the email action cannot be displayed.
Set the Access level of Deliverability to "All email"
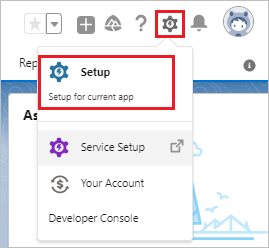
Click "Setup" from the settings icon in the upper right corner of the screen.
Enter "Deliverability" in the search box and click "Deliverability". Set the Access level to "All email" and save.
Enable Email-to-Case
Enter "email-" in the search box and click "Email-to-Case". Select the "Enable Email-to-Case" checkbox and save.
*After you enable Email-to-Case, you cannot disable it.
Enable Chatter Settings
Enter "chatter" in the search box and click "Chatter Settings". Select the "Enable" checkbox and save.
Create Send Email Action
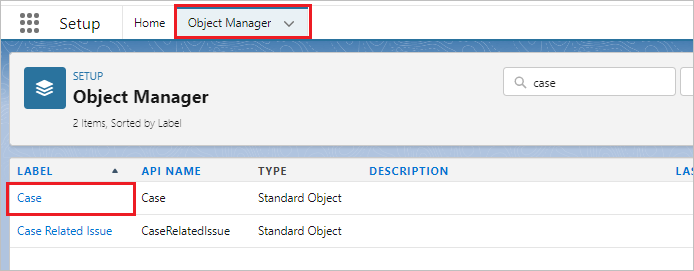
From the Object Manager tab, click "Case".
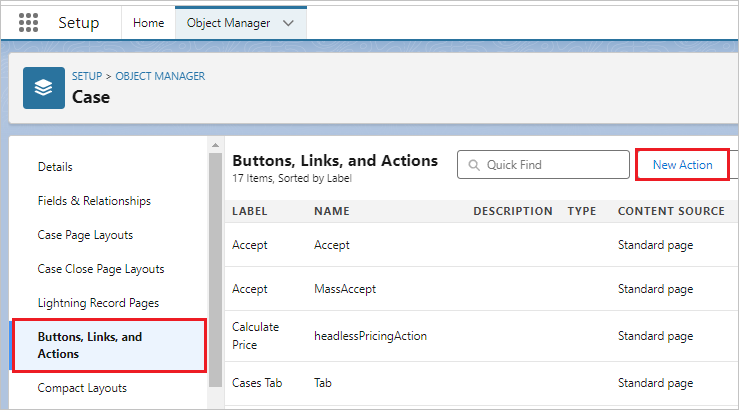
Click "Buttons, Links, and Actions" in the left sidebar, then click "New Action".
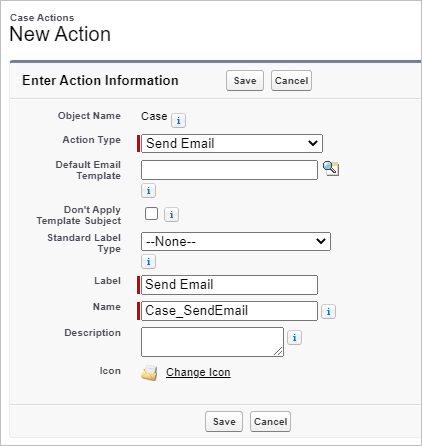
Set the properties. Only for the Case object, "Default Email Template" will appear, allowing you to set a default email template.
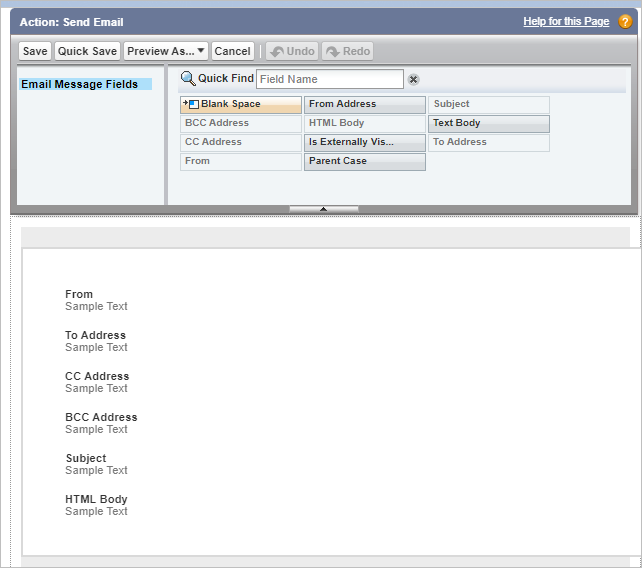
Set the layout of the Send Email screen.
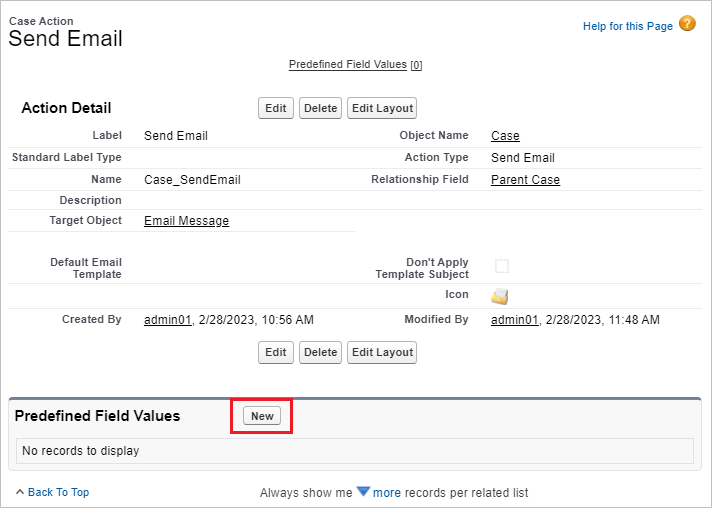
From the Predefined Field Values, click "New".
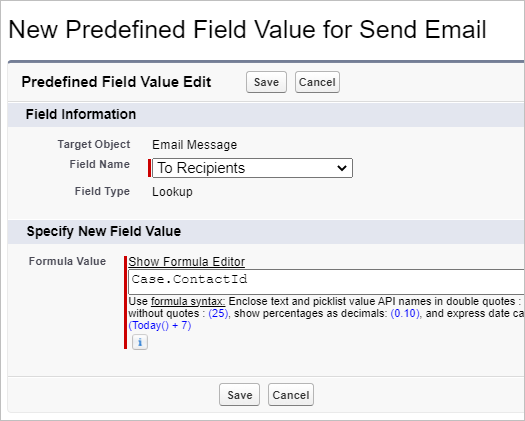
Set the value that will be set by default when the email is created. In this case, the case's Contact is set as the To Recipients by default.
Field: To Recipients
Formula Value: Case.ContactId
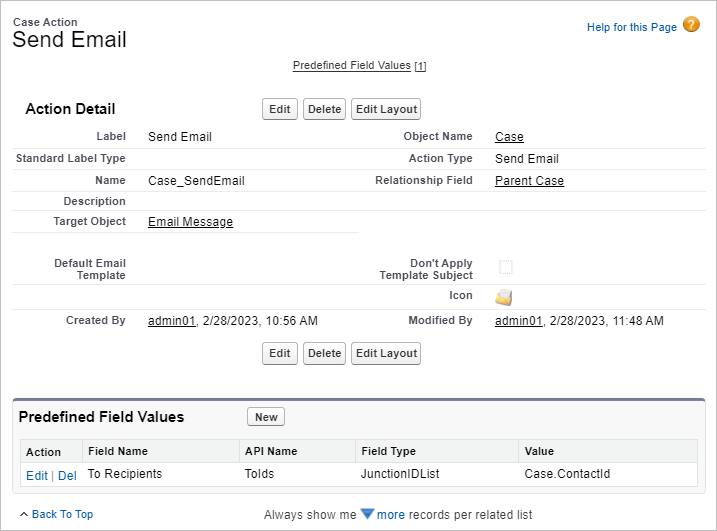
The Send Email Action is complete.
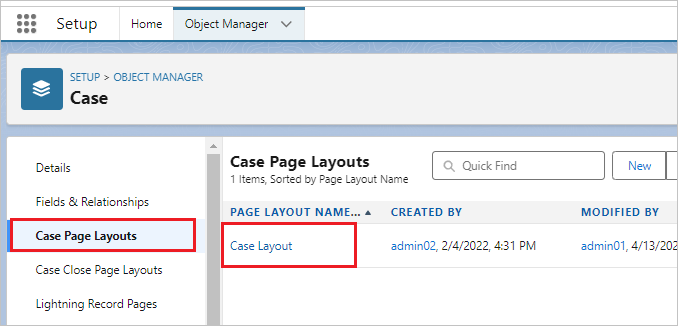
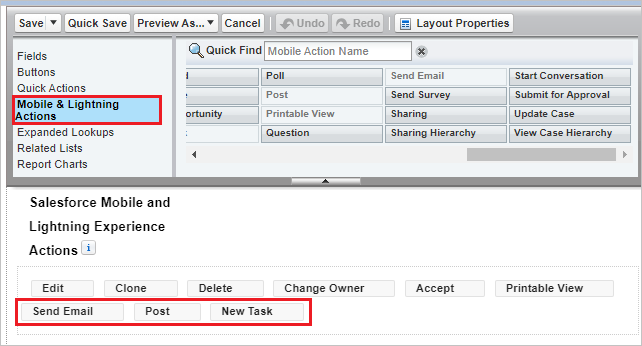
Click "Case Page Layouts" in the left sidebar, then click the page layout name.
Here I will place "Send Email", "Post" and "New Task". Since these are not displayed as buttons in the highlights panel, they should be grouped together at the very back. This order will be the order of the tabs.
Click "Related Lists" and place "Emails" in the Related Lists.
Place the Email Tab on the Lightning Record Page
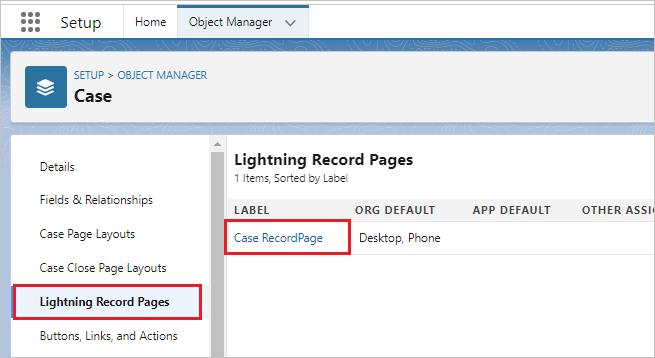
Click "Lightning Record Pages" in the left sidebar, then click the label.
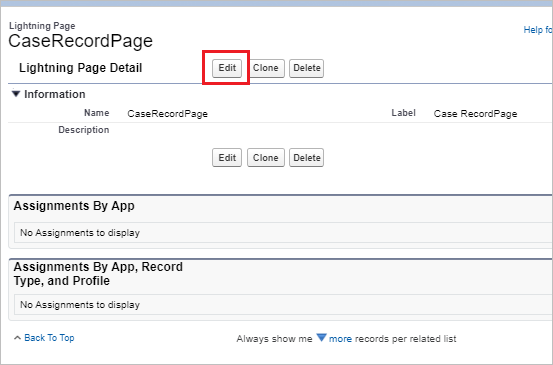
Click the "Edit" button.
There are three Chatter components.
Chatter: Displays Chatter publishers and Chatter feeds
Chatter Publisher: Displays actions such as New Task or Email
Chatter Feed: Displays Chatter feeds
*In order to display the Chatter Feed, "Enable Case Feed Actions and Feed Items" must be selected in Setup > Feature Settings > Service > Support Settings.
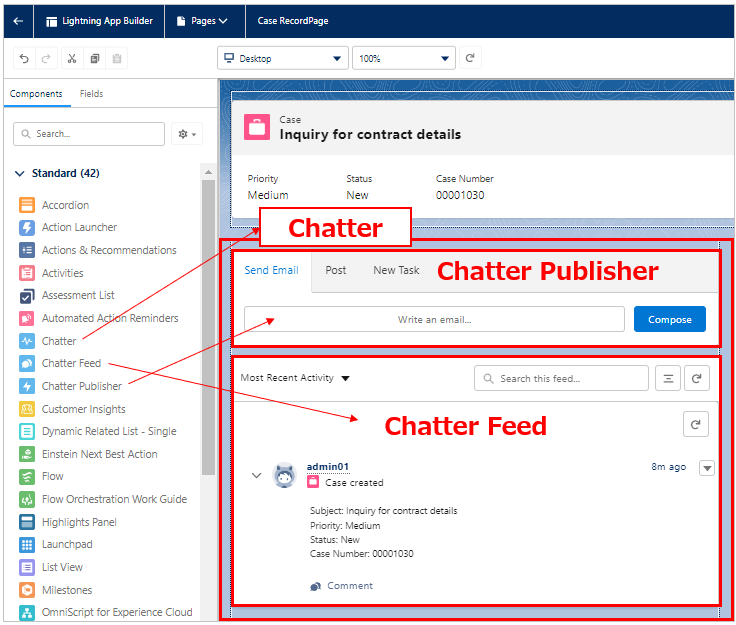
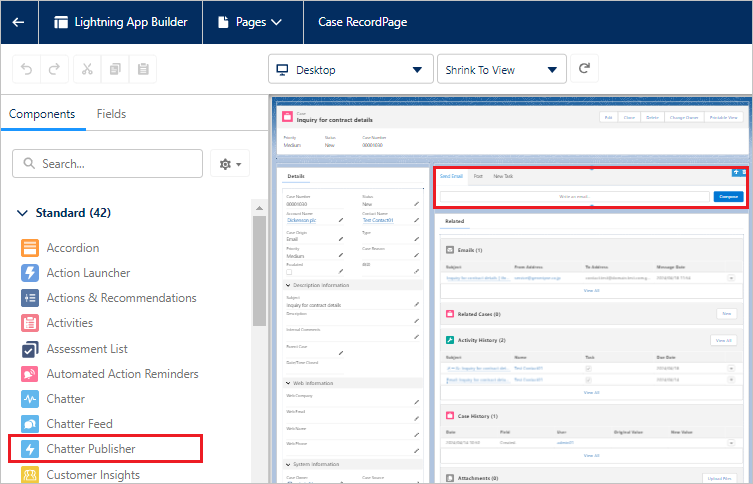
Place the Chatter Publisher component here.
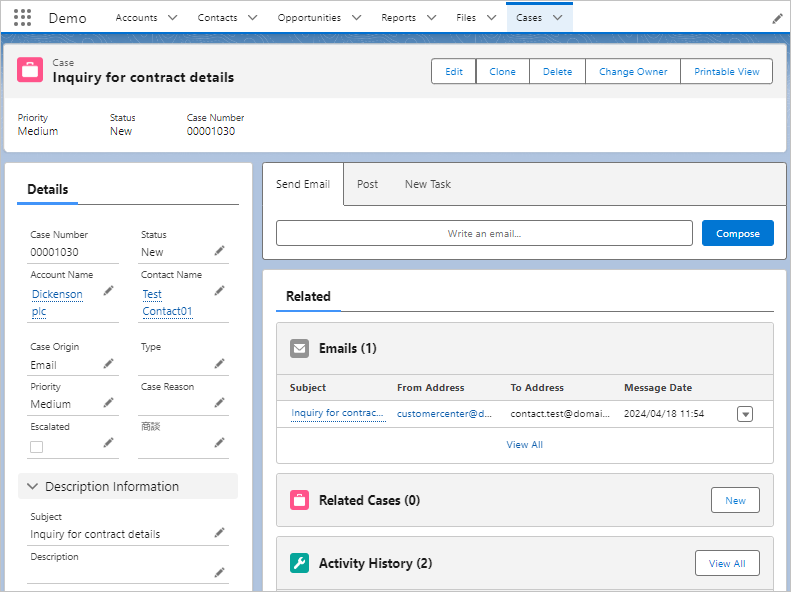
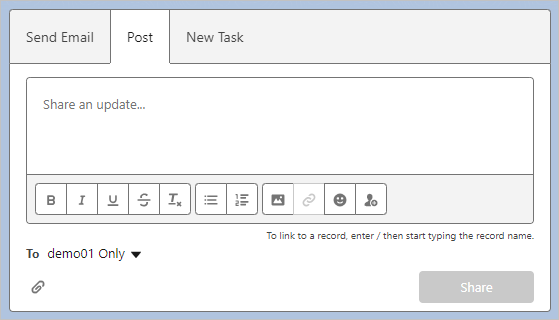
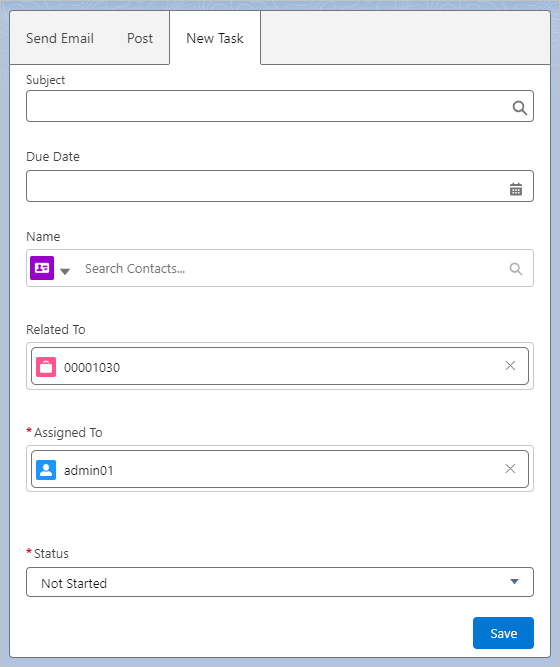
The Send Email, Post, and New Task tabs will appear.
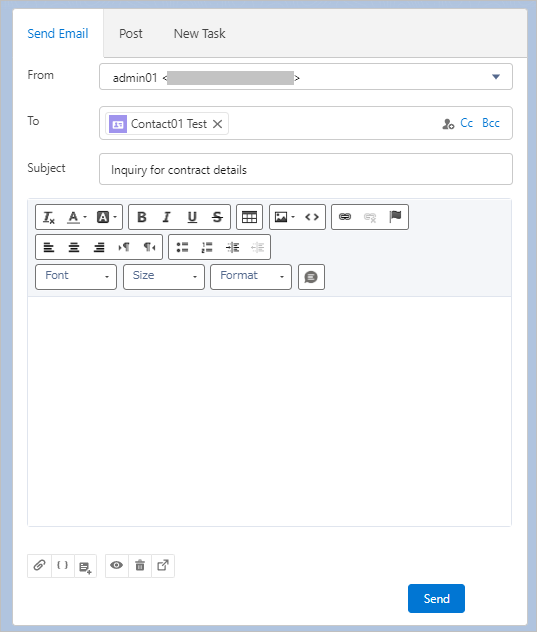
When you click the "Write an email…" or "Compose" button on the Send Email tab, the email composer screen appears.
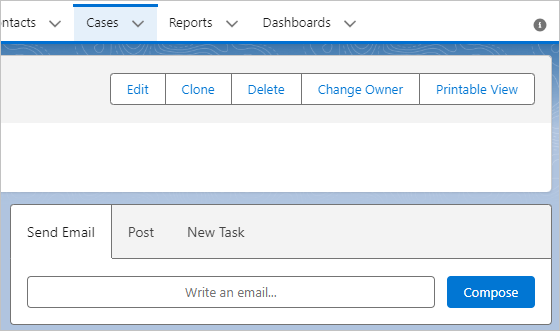
Email Composer Screen
Post tab
New Task tab
Sent and received emails are displayed in the Email related list.
Note
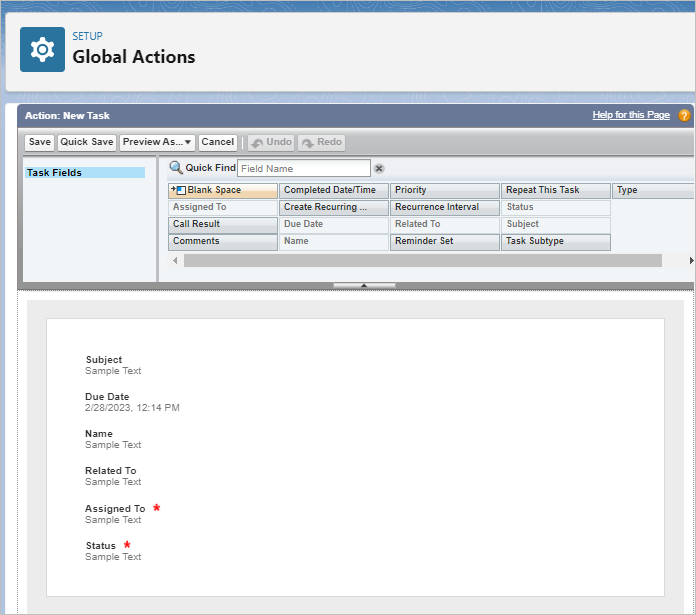
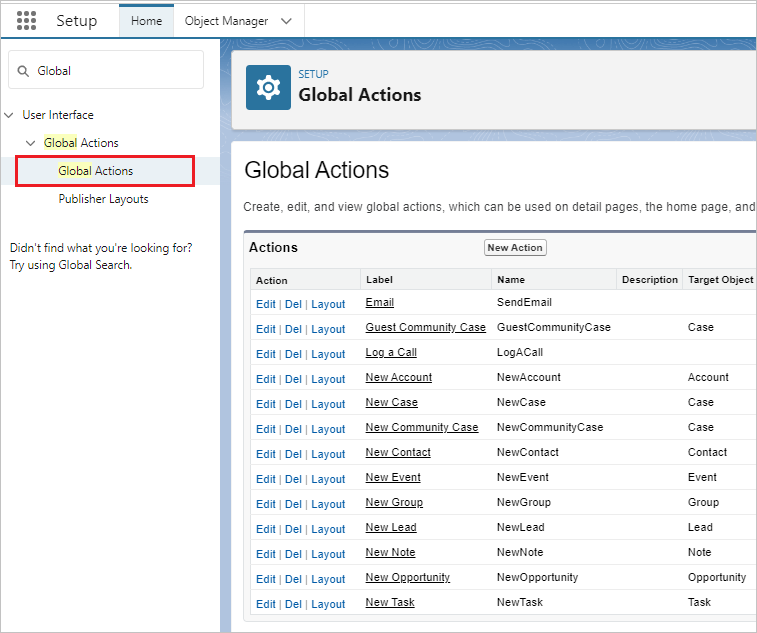
There are two kinds of actions: global actions and object-specific actions. Global actions are selectable in the page layout for all objects.
Global actions are set from Setup > User Interface > Global Actions > Global Actions.
Layout Edit Screen